Photo Tools · · 8 min read
Written by Saleh S.
Saleh S. - Author & Developer at IMG Harvest. Read author bio.
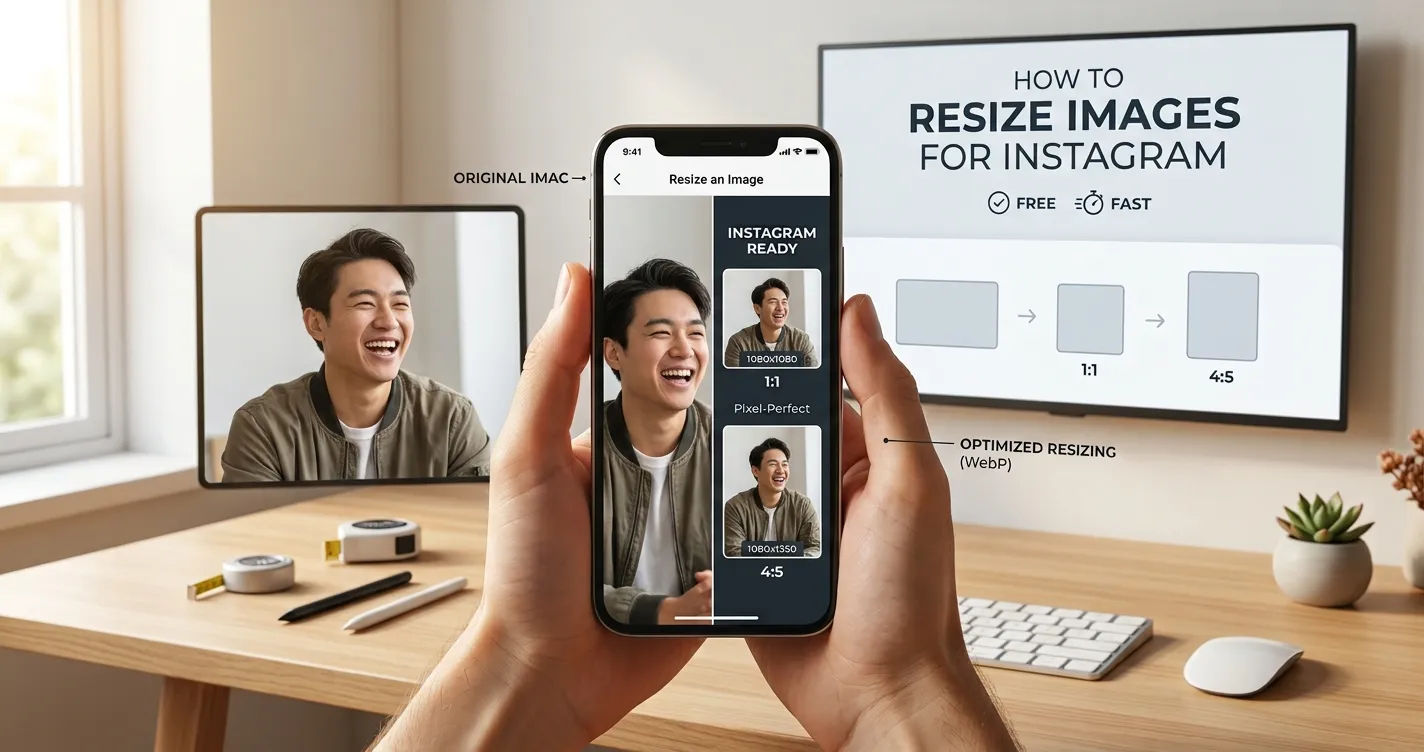
Instagram has more than a dozen different image placements, and each one has its own ideal pixel dimensions. Upload a photo at the wrong size and Instagram crops it, compresses it heavily, or leaves ugly black bars on the edges. This guide gives you the exact pixel dimensions for every Instagram post type in 2026, then walks you through resizing any photo to those sizes for free in your browser using our Image Resizer.
The Exact Pixel Dimensions for Every Instagram Placement
Instagram does not officially publish every dimension, but consistent measurements from creators and reverse-engineering of the app give a clear set of safe sizes. Use these as your defaults to avoid unwanted crops and compression artifacts.
- Square feed post: 1080 x 1080 px (1:1 aspect ratio, the safest and most universal choice).
- Portrait feed post: 1080 x 1350 px (4:5 ratio, takes up maximum vertical space in the feed and gets more screen real estate).
- Landscape feed post: 1080 x 566 px (1.91:1 ratio, useful for wide shots like landscapes or product shots).
- Story or Reel cover: 1080 x 1920 px (9:16 ratio, fills the entire phone screen).
- Profile picture: 320 x 320 px displayed, but upload at 1080 x 1080 px for sharpness on retina screens.
- Carousel slides: 1080 x 1350 px portrait or 1080 x 1080 px square, all slides must match the first slide's aspect ratio.
How to Resize a Photo for Instagram in Your Browser
Resizing a photo for Instagram is a three-step process: pick the target dimensions, drop your photo into the resizer, and download the result. Our Image Resizer does this entirely on your device, so your photos never leave the browser.
- Open our free Image Resizer at /tools/image-resizer from any modern browser (Chrome, Firefox, Safari, Edge).
- Click the upload zone or drag your photo directly onto the page. The tool accepts JPEG, PNG, WebP, GIF, BMP, and HEIC files.
- Pick a target: enter exact pixels (for example 1080 x 1350), choose a percentage (for example 50%), or select an Instagram preset if available.
- Decide how to handle the aspect ratio: keep it (letterbox with a custom background color), crop to fill, or stretch (only recommended when you need exact dimensions).
- Click Resize, then download the result as JPEG or PNG. The whole process runs locally and takes less than a second for typical photos.
Common Mistakes When Resizing Photos for Instagram
Even with the right dimensions, a few common mistakes can hurt the quality of your Instagram posts. Watch out for these pitfalls before you upload.
- Uploading at lower resolution and letting Instagram upscale. Always upload at or above the target dimensions.
- Saving the resized file at very low JPEG quality (below 75). This causes the visible compression blocks Instagram adds on top to look much worse.
- Using PNG for photos. JPEG at 85-92% quality is smaller and visually identical for photographs; PNG is only better for graphics with flat colors and transparency.
- Forgetting to remove EXIF metadata. Phone photos contain GPS coordinates and camera details that get stripped by Instagram anyway, but stripping them locally gives you privacy before upload. Use our EXIF Remover at /tools/image-metadata-remover for that step.
- Posting a square crop when the original photo is landscape, losing important visual context. Always check the framing at the target aspect ratio before uploading.
Batch Resizing Multiple Photos at Once
If you are preparing a carousel or a full campaign, resizing photos one by one is slow. For batch workflows, combine the Image Resizer with our Batch Image Renamer and Image Compressor. Resize first, then compress for the smallest possible upload size, then rename files with a consistent prefix so your drafts stay organized.
- Step 1: Resize all photos to 1080 x 1350 px using the Image Resizer.
- Step 2: Compress each resized photo with the Image Compressor to cut the file size by 30-60% at 85% JPEG quality.
- Step 3: Rename the batch with the Batch Image Renamer using a pattern like 'campaign-spring-001.jpg' to keep drafts organized.
- Step 4: If the source photos were HEIC files from an iPhone, convert them to JPEG first with our HEIC to JPG converter at /tools/heic-to-jpg.
When to Skip Resizing and Upload the Original
There are a few cases where resizing is unnecessary or counterproductive. Modern iPhones and Android flagships shoot at 12 to 50 megapixels, far larger than the 1080 px Instagram actually uses. Uploading a 50 MP photo directly works, but the file is huge and Instagram will compress it aggressively, sometimes producing worse results than a properly resized 1080 px version. The general rule: resize to 1080 px on the longest edge, save at 85-92% JPEG quality, and Instagram will handle the rest better than if you upload the raw file.
Key Takeaways
Resizing a photo for Instagram takes under a minute once you know the target dimensions. Use 1080 px on the longest edge for feed posts and Stories, choose 4:5 portrait or 1:1 square for maximum engagement, and always strip EXIF metadata before uploading for privacy. With our free Image Resizer at /tools/image-resizer, you can resize as many photos as you want, in your browser, without ever uploading them to a server.
Ready to put it into practice? Try the online image resizer - free, in-browser, and private.