Image Compression · · 9 min read
Written by Saleh S.
Saleh S. - Author & Developer at IMG Harvest. Read author bio.
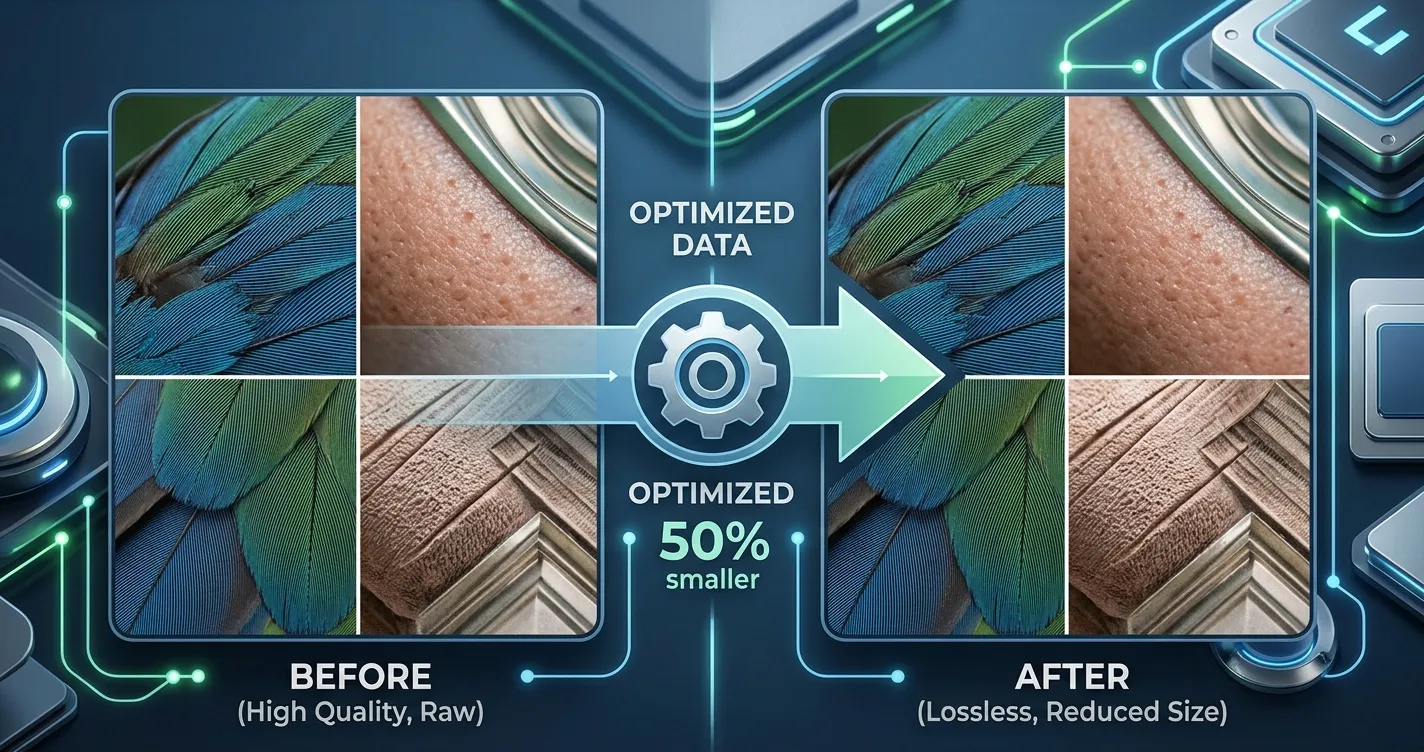
Every time you save a JPEG, you can lose a little quality unless you choose the right settings. This guide explains the difference between lossy and lossless compression, when each format is appropriate, and how to save your photos at the smallest file size with zero visible quality loss using our free browser-based Image Compressor.
Lossy vs Lossless Compression: What's the Difference?
Image compression comes in two fundamentally different flavors. Choosing the right one is the first step to keeping your photos sharp.
- Lossy compression (JPEG, WebP, AVIF) throws away image data to shrink the file. Each save loses a little more. Use it for photos you publish online, where smaller files matter more than archival fidelity.
- Lossless compression (PNG, lossless WebP, lossless AVIF) keeps every pixel exactly as captured, but the file stays much larger. Use it for graphics, logos, screenshots, and master copies you might edit later.
- The trick most people miss: re-saving a JPEG over and over degrades it cumulatively. Always keep one lossless master and export lossy copies from that master for sharing.
Which Format Should You Use for Each Situation?
Picking the right output format is more important than picking the right quality slider. Here is a practical decision table based on what we recommend to professional photographers and web developers.
- Photographs for the web: JPEG at 85-92% quality. Small files, no visible artifacts, universal browser support. Our Image Compressor defaults to this range.
- Photographs for archival: PNG or lossless WebP. Larger files, but every pixel is preserved for future editing.
- Graphics with flat colors and transparency: PNG-24. Logos, UI screenshots, icons with transparency all stay crisp at any size.
- Modern web with smallest size: AVIF at 80-85% quality. Roughly 20-30% smaller than equivalent JPEG with no visible quality difference, but limited older browser support. Use our AVIF Converter at /tools/avif-converter for this.
- Maximum compatibility for photos: JPEG. It is the only format that works everywhere, from email attachments to print shops.
How to Save a JPEG at the Smallest File Size With No Visible Quality Loss
The default JPEG quality slider in most image editors is conservative - many use 90% or even 95% by default, which produces files 2-3x larger than necessary. For photographs viewed on screens, 85% is the sweet spot: it cuts the file size by 30-50% with no visible quality change.
- Step 1: Open the Image Compressor at /tools/image-compressor in your browser.
- Step 2: Drop in one or more photos. The tool reads each file's dimensions and current size before compression.
- Step 3: Pick JPEG as the output format. The default quality slider starts at 85%, which is our recommended starting point.
- Step 4: Adjust the slider. Compare the original and compressed versions side-by-side using the preview. Find the lowest quality setting where you cannot see any difference.
- Step 5: Download the compressed file or grab them all as a ZIP.
Saving Images for Print vs Screen: Different Rules
Print requires much more pixel data than screen viewing because the image is rendered at 300 DPI on physical paper rather than at 72-150 DPI on a backlit screen. Saving for print requires a different workflow than saving for the web.
- For print, save at the highest lossless quality you can. Use TIFF or PNG as the working format and only convert to JPEG when sending to a print shop that requires it.
- For 4x6 inch prints at 300 DPI, the image needs to be at least 1200 x 1800 pixels.
- For 8x10 inch prints at 300 DPI, the image needs to be at least 2400 x 3000 pixels. Resize up with our Image Resizer at /tools/image-resizer if your source is smaller.
- For screen, target 1080-2160 pixels on the longest edge. Larger files waste bandwidth and storage without improving the viewing experience.
Avoiding Cumulative Quality Loss in Your Workflow
The single biggest reason photos look bad after a few rounds of editing is cumulative quality loss. Every time you open a JPEG and re-save it, you lose a little more. Professional workflows avoid this by always editing from a lossless master.
- Keep a master copy in PNG, TIFF, or lossless WebP format. Never edit the JPEG directly.
- When you need a JPEG for sharing, export it from the master at 85-92% quality.
- Use our WebP Converter at /tools/webp-converter to create lossless WebP masters that are smaller than PNG but just as faithful.
- If you must edit a JPEG, do all your edits in one session and save once, not multiple times.
Key Takeaways
Saving images without visible quality loss is mostly about choosing the right format and the right quality setting. Use JPEG at 85% quality for photos on the web, PNG or lossless WebP for archival masters, and AVIF when you need the smallest possible file for modern browsers. Our free Image Compressor at /tools/image-compressor runs entirely in your browser, so you can experiment with quality settings and formats without uploading a single photo to a server.
Ready to put it into practice? Try the image compressor - free, in-browser, and private.